Part 2: Checkpoint 2 - Props and UVing


Part 2: Checkpoint 1 - Turntable


Part 1: Checkpoint 4 - Modeling and UV'ing


Part 1: Checkpoint 3 - Modeling and UV'ing


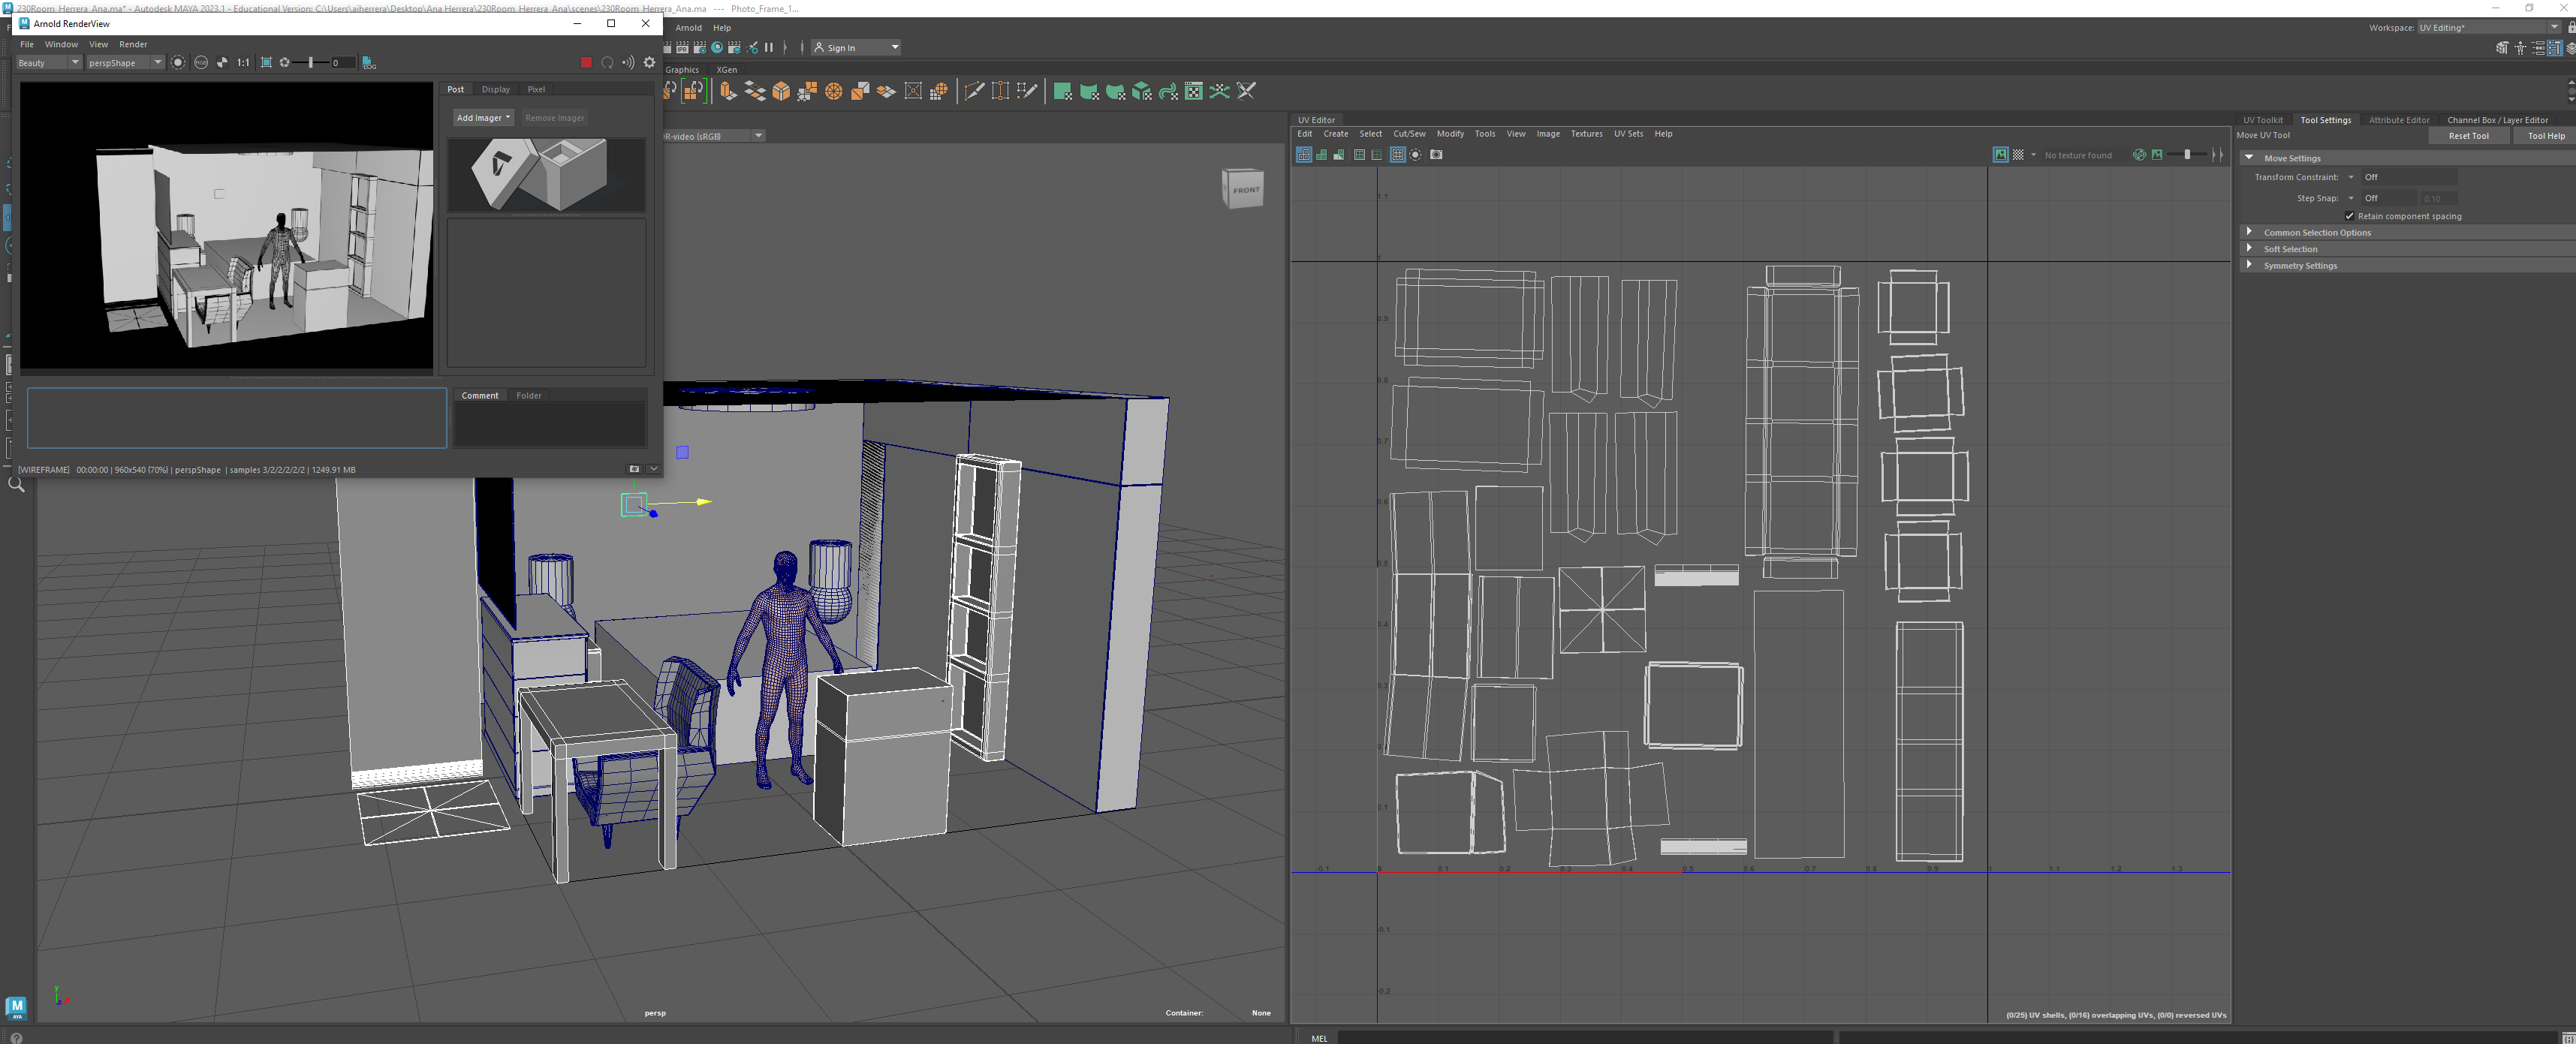
For this assignment, I decided to finish all the necessary modeling and UV’ing that was possible. These models included the bed, chair (the new version), the lamp, the celling lights, the closet, the window, and the bed. I also UV all of these objects as well as the dresser.
I needed to look for some references for the lamp because my lap was not showing the inside of it.
I had troubles UV’ing most of these objects, especially the chair, because of their shapes and many parts. I also had some troubles with the amount of polygons that I had because my computer started to run low due to the amount of work that is doing. Aside from that, I really enjoyed modeling these room and coming with new ideas for my personal room in the future. Although is really simple and does not have much decoration (which I hope I would have time to decorate some of it), I really like how is turning out so far.

I discovered that is easier to model through separate pieces instead of trying to create a single-piece object. But it still was difficult to model for me, which become a challenge due to the amount of time that I had to model.
For next week, I would start doing the ID and low colors to export them to Painter and, hopefully, finished it all of it in Unity.


Part 1: Checkpoint 2 - Modeling and UV'ing

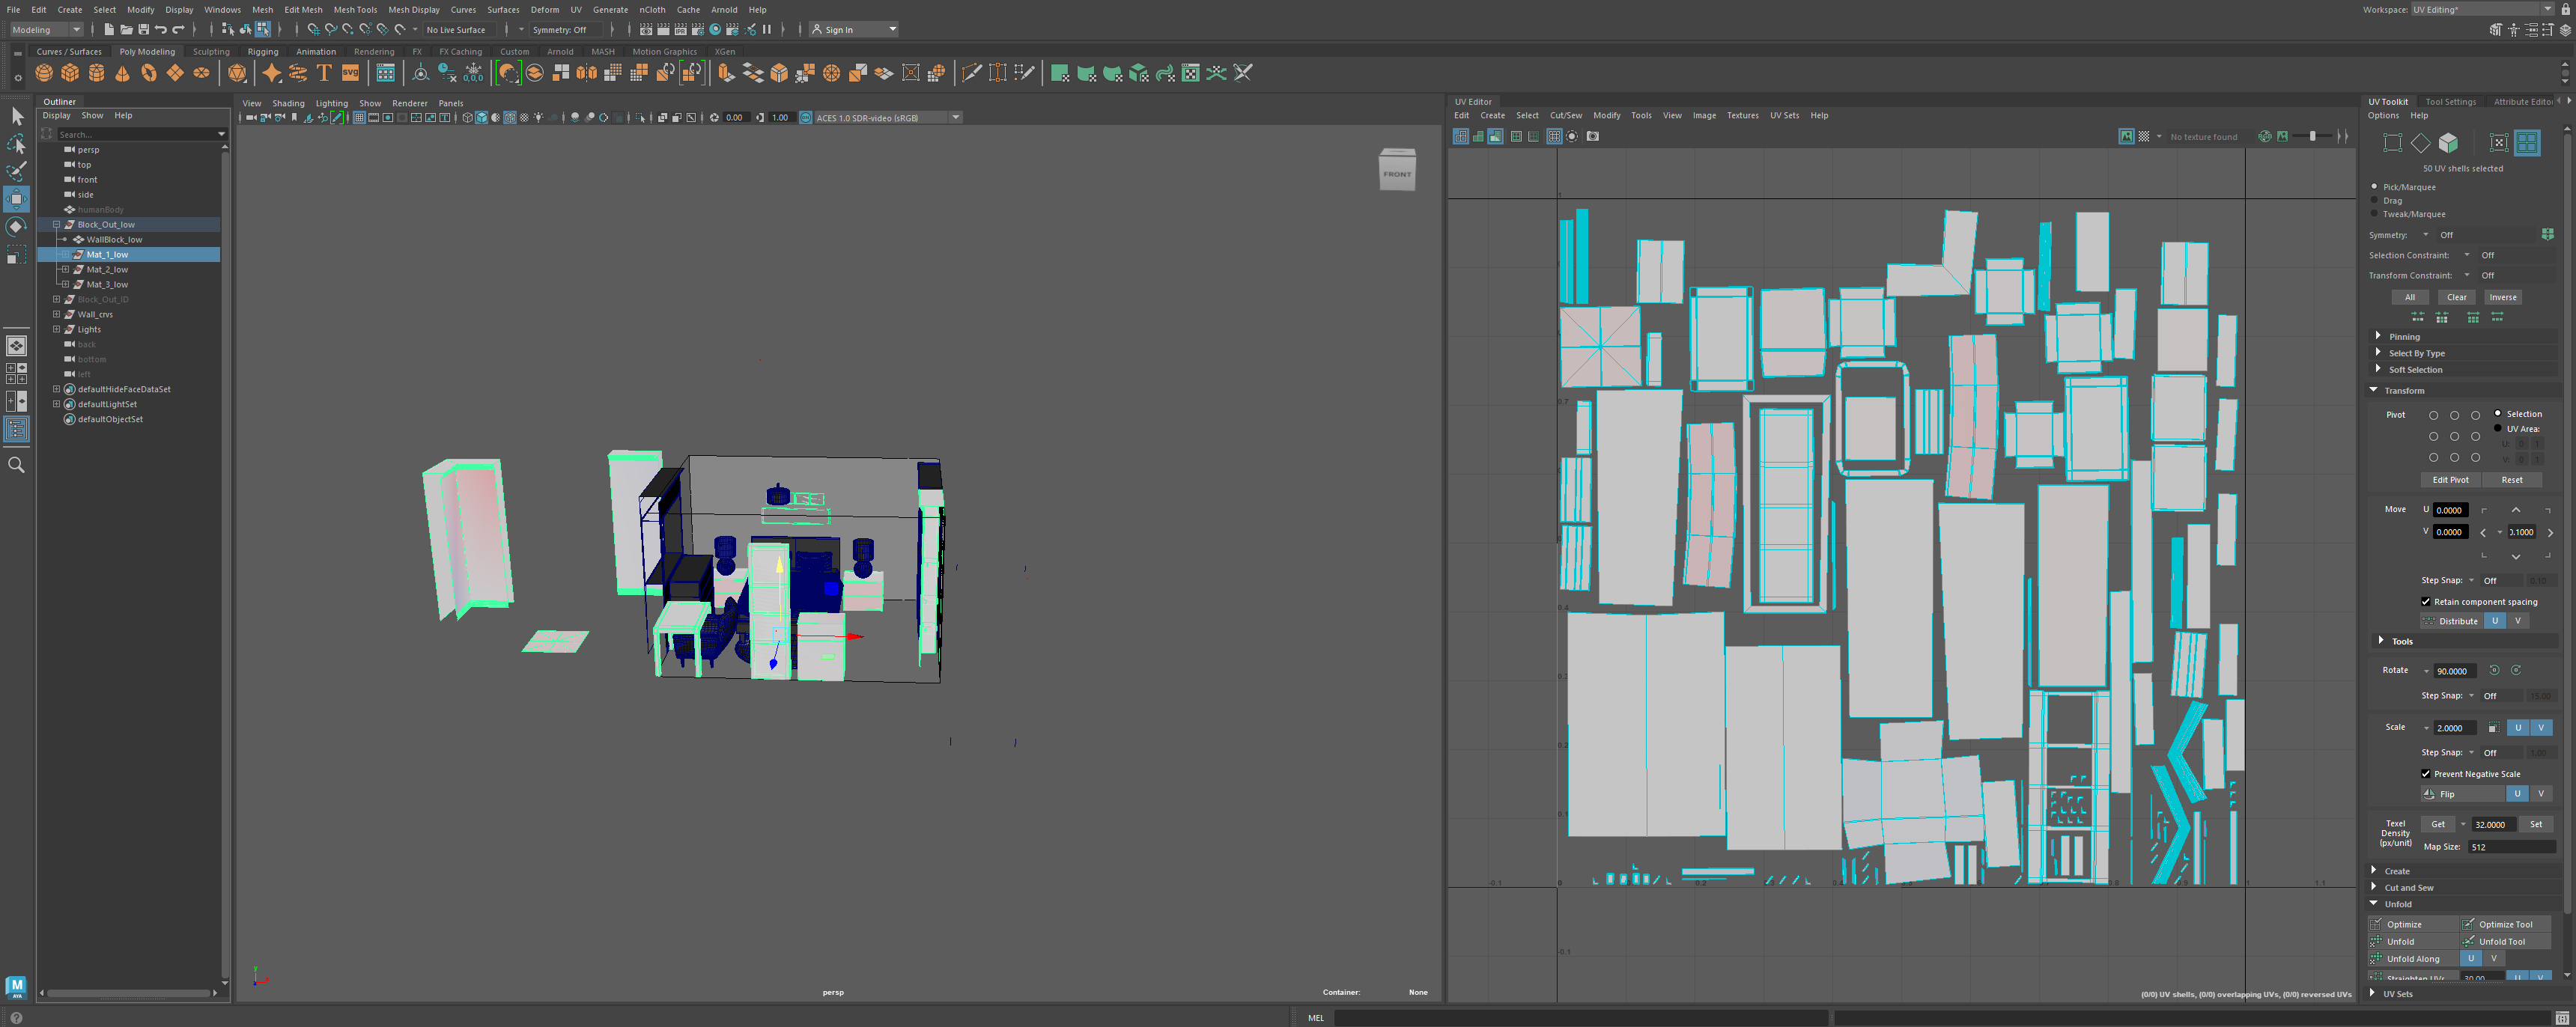
For this assignment, I
decided to start modeling some of the furniture that my room would have. Some
of the model objects were also UV’ing, and those include the wall, the ceramic
floor tiles, the night stand, the picture frame, the minifridge, the table, and
the bookshelf.
Another challenge that I encounter
were the UV’ing of some of the objects like the ceramic tiles, but after
deleting some extra faces that weren’t noticeable, it became one of the most easiest
ones. The rest of the UV’ing were easy to do due to the shape that they have.
For next week, I would continue
modeling the rest of the objects that I have left, as well as UV’ing them. I
also would have to redo the chair and try
to make it more easy to UV it.
Part 1: Checkpoint 1 - The Block-out

For this assignment, I decided to make a room
that I would like to have in the future. The block out of this room is simple
and do not have much to define of each object that I want to get on the room
(additional objects may appear).
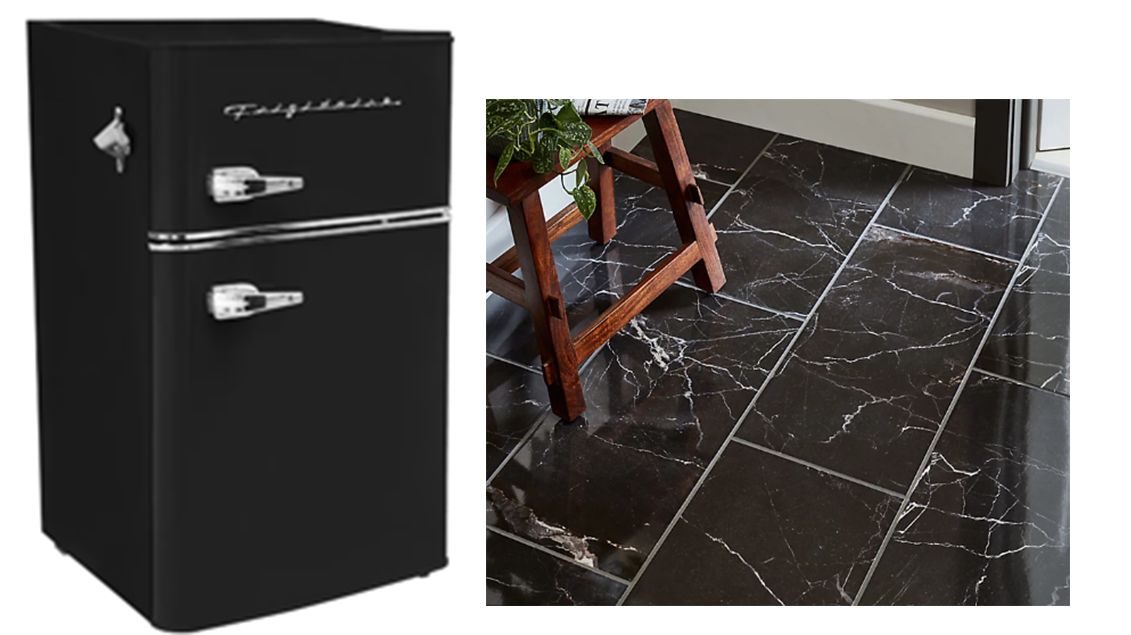
For my references, I decided to use modern-gothic
room style for the furniture and color scheme use on this room.


I also used the same ideas for
decorations and furniture that are shown in these images.
The challenges that I face were
minimum. This time I was having more troubles with the preferences and cameras on
Maya because they change features from the classroom computer to mine. Even
with those problems I was able to work normally on those, even with the confusion.
Other than that, I didn’t experience any difficulties with the amount of space
on the room or the placement of the objects.
For next week, I would be working
on making the molding for the walls as well as working on part of the furniture,
which is more complex than any other thing in the room or than the molding on
the walls.
This project would help me to make
a mockout of a future room that I would have, and I am really exited to give me
ideas and a better understanding on how it could work out or how it could look
out. It can also give ideas to the person who would help me design this room.
No comments:
Post a Comment
Note: Only a member of this blog may post a comment.